

 
|

|
Adding Expense Reports
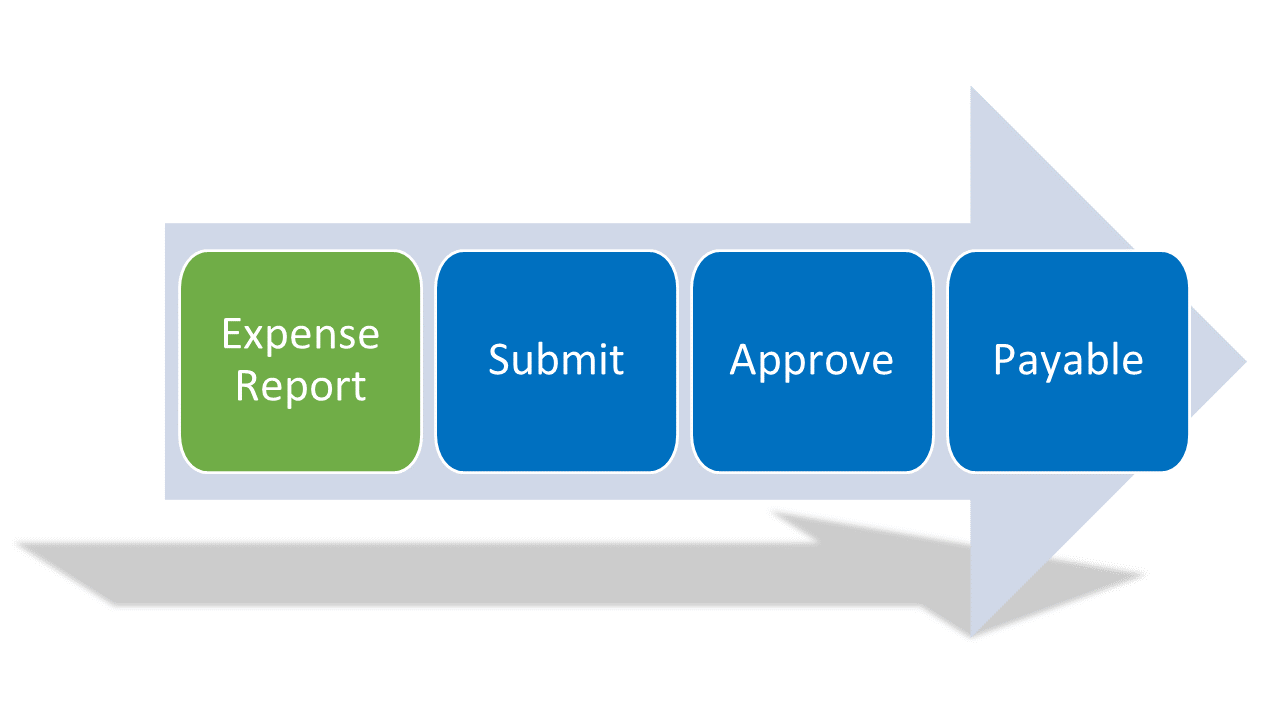
Apptricity provides a complete automated and transparent process for creating, submitting, and paying expense reports. An expense report is typically created soon after an expense or a group of expenses is incurred for an event, an out of pocket expense, or a company authorized trip. After an expense report is submitted for approval in the Expense system, it follows the workflow defined by your organization.
During the approval process, business rules are applied, multiple approvers may view and approve, an audit of the expense report is conducted, and the report is paid and disbursed. At any stage in the approval process, an approved auditor or approving the expense report to the user for corrections. Users are encouraged to address the errors promptly to expedite the approval process.
Adding Expense Reports
To create a new expense report:
-
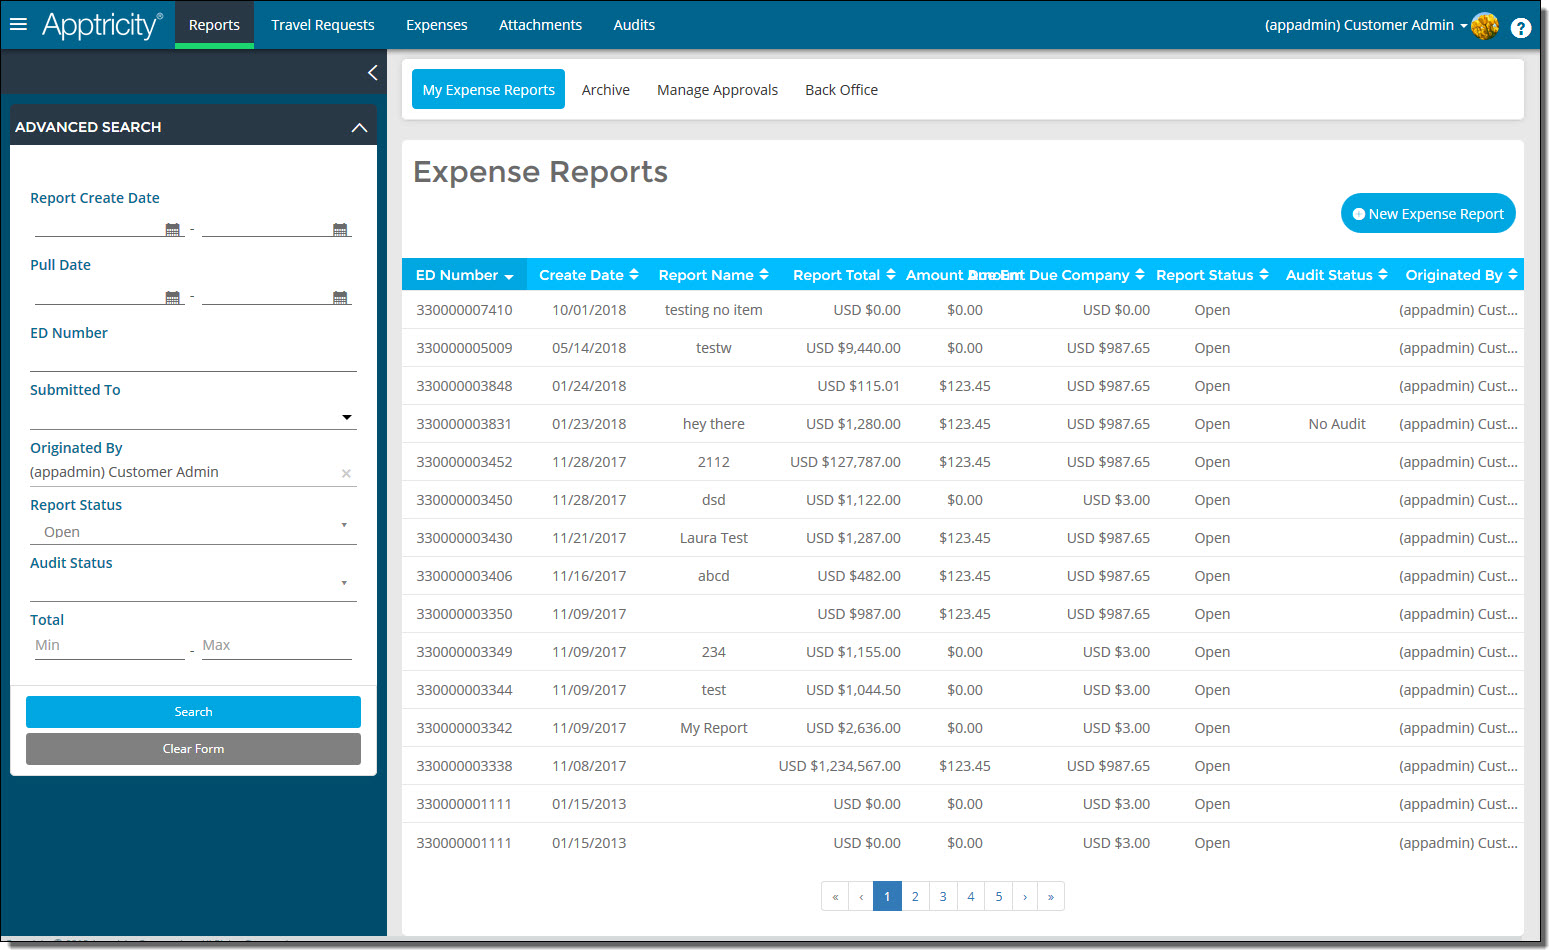
Click Reports in the navigation bar. The Expense Reports page is displayed.
-
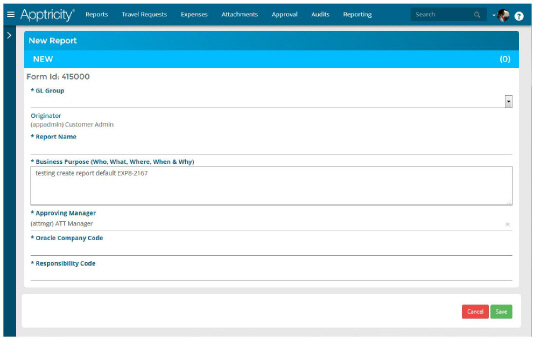
Click New Expense Report tile. A new report appears.
-
Type a short explanation for the expenses in the Purpose field.
-
Enter the Start and End dates for the expenses.
-
Continue modifying the report until it is complete:
-
Add expenses to the report. See Adding New Expenses to a Report.
-
Add unassigned expenses to the report. See Adding Existing Unassigned Expenses to a Report.
-
Add an attachment to the report, such as a receipt. See Adding Attachments to a Report.
-
Add an approved travel request to the report. See Adding Travel Requests to a Report.
-
Add a note to the report. See Adding Notes to a Report.
-
Click Save to save the report to finish it later. Click Submit to submit the report for approval immediately.
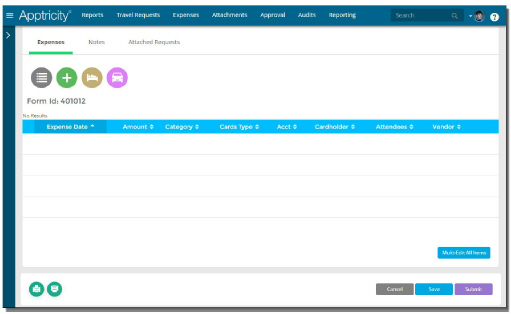
Adding New Expenses to a Report
To add new expenses directly to an expense report:
-
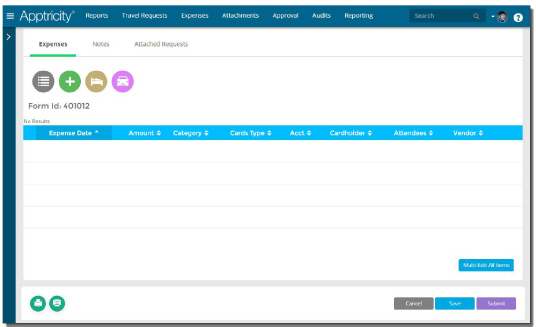
In an expense report open for editing, scroll down to reveal the line item section of the expense report.
-
Do one of the following:
-
Click
 to
add a general expense. See Adding
General Expenses.
to
add a general expense. See Adding
General Expenses. -
Click
 to
add a hotel expense. See Adding
Hotel Expenses.
to
add a hotel expense. See Adding
Hotel Expenses. -
Click
 to
add a mileage expense. See Adding
Mileage Expenses.
to
add a mileage expense. See Adding
Mileage Expenses. -
Complete the required fields for the selected expense type.
-
Click Add when you are finished. The expense is added to your expense line item list.
-
Repeat the process to add the necessary expenses to the expense report.
-
Click Save when you are finished.
Adding Existing Unassigned Expenses to a Report
To add existing unassigned expenses to an expense report:
-
Click Reports in the navigation bar. The Expense Reports page is displayed.
-
Under My Expense Reports, double-click the expense report where you want to add an unassigned expense. The report is displayed in the work area.
-
Open the sidebar to reveal the list of unassigned expenses.
-
Select the unassigned expense you want to add to the report, and then click Move Selected Expense(s) Current Report. The expense is assigned to the expense report.
-
Click Update when you are finished.
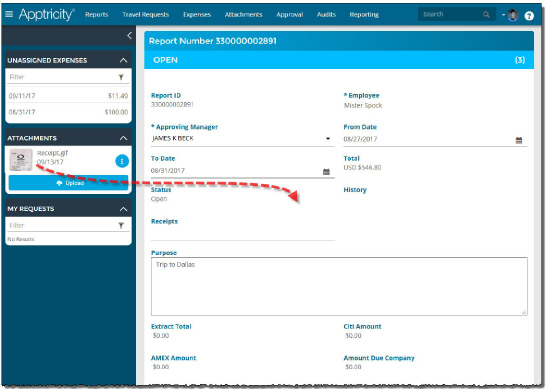
Adding Attachments to a Report
To add existing attachments to an expense report:
-
Click Reports in the navigation bar. The Expense Reports page is displayed.
-
Under Open reports, double-click the expense report where you want to add an existing attachment. The report is displayed in the work area.
-
Open the sidebar to reveal the list of Available Receipts.
-
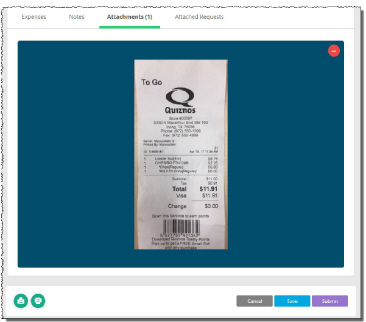
Click the attachment you want to add to the report, and then drag it and drop it on the open report. The attachment is added to the report and appears under the Attachments tab.
-
Click Save or Submit when you are finished.
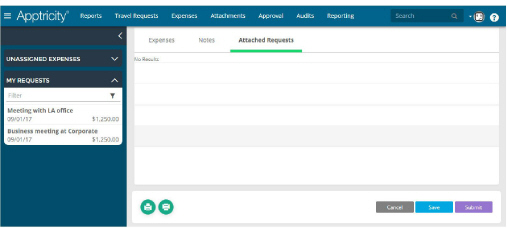
Adding Travel Requests to a Report
To add a travel request to an expense report:
-
In an expense report open for editing, scroll down to reveal the line item section of the expense report, and then click the Attached Requests tab.
-
Open the Sidebar to reveal the My Requests list.
-
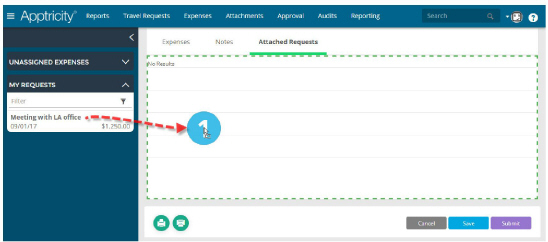
Click the travel request you want to add to the report, and then drag it and drop it on the Attached Requests area.
-
Click Save or Submit when you are finished.
The request is added to the report and appears under the Attached Requests tab.
Adding Notes to a Report
To add a note to an expense report:
-
In an expense report open for editing, scroll down to reveal the line item section of the expense report.
-
Click Notes. The Notes list is displayed.
-
Type your note information into the comment text area.
-
Click Add Comment when you are finished. The note is added to your notes list.
-
Click Save when you are finished.