

|
Importing QIF Expenses
You can use Quicken Interchange Format (file extension .qif and usually pronounced “kiff.”) files from your personal credit card company, or other financial institution, to import information directly into Apptricity Expense. You can pick and choose the transactions included in the import file, and they are added to your unassigned expenses list. Then, you add these expenses to a report and submit for approval.
In order to import expenses from a QIF file, you must first obtain a file from your card provider.
QIF File Upload
Click the QIF Import icon in the left navigation pane to display the QIF File Upload panel. First, you upload the file from your computer, then you import selected transactions into Expense.
Uploading a QIF file
To upload a QIF file:
-
Obtain a QIF file with the expenses you want to import and place it in a convenient computer file location.
-
Click Upload QIF.
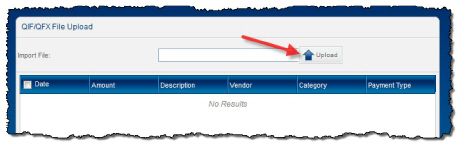
A file browser window opens (the appearance of the file browser will vary according to operating system).
-
Navigate to the QIF file location, and click it to select it.
-
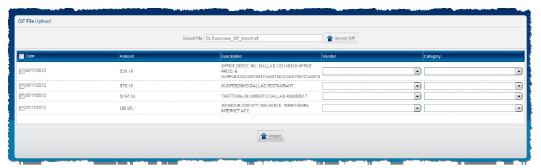
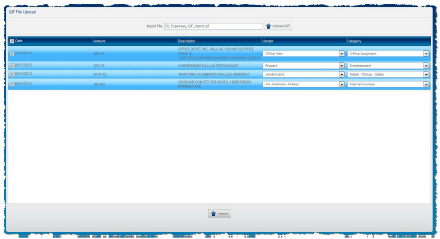
Click Open. The QIF transaction data is uploaded into Expense and the charges are shown as line items. The QIF file name appears in the Import File field. Notice there are no vendor or category details. You specify these under the appropriate column. (You can also specify vendor and category information at the unassigned expense item list.)
-
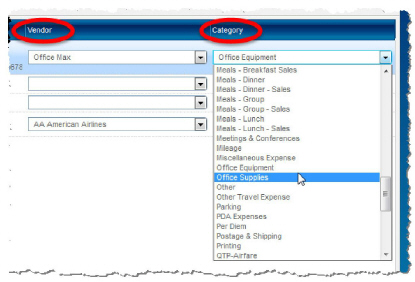
Select the expense, and then select the vendor name from the Vendor list.
-
Repeat steps 4 and 5 until you have added a vendor and a category for all expenses. The choices available in the drop-down menus are configured by your administrator.
Now, let’s import them into your expense report.
-
Click the check box next to each line item you want, or click the check box in the blue column heading to the left of the Date column heading to select all expenses. (The image below illustrates all selected.)
-
Click Import at the bottom of the window.
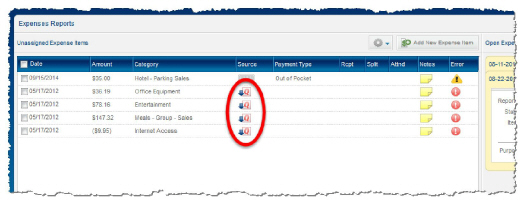
When imported, QIF expenses are treated as an unassigned expense, and are listed under Unassigned Expense Items on your Expense Reports pane. The QIF items are noted with a special icon, under the Source column in the Unassigned Expense items list.